| BreBru's Art Room | |
 BreBru.com BreBru.comExtra Info Music Room ArtRoom |
LESSON TWO - Part 3 |
 Tone and Shadow
Shape is the way we interpret an illustration so as to recognize the object. Shadow and tone are the methods we use to trick the brain into seeing a two dimensional object as a three-dimensional object. On this page we are going to investigate this process. I will be using simple shapes to show you the process. The following examples are a comparison of the same objects prior to shading and then after adding some drawing technique. Some other changes such as size and positions were done to create a more interesting display. 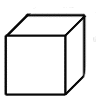 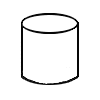   Notice where the lights source is coming from. If you need to build a shadow box you can go to the "SHADOWBOX" project lesson. You can see that by adding some tone or shading to the illustration you will give the objects the illusion of shape. How you render texture, tone and shadow will add much to your drawing ability and make your subject more interesting. 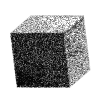 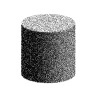 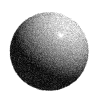 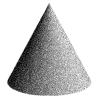 Practice these shapes before you go any farther into the lesson. Next we are going to talk about shadows. Go to the next page after you have completed these drawings. First render a cube (Illustration 1) about 3 X 3 inches. Then place a marker for the light source. Here a light source was used from the upper left of the drawing and was assumed to be behind the cube. In the first illustration a few straight lines to the front left side of the cube were added to begin the work. 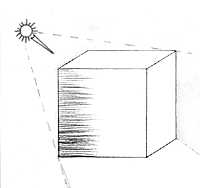 Illustration 1 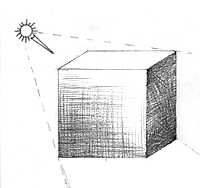 Illustration 2 In (Illustration 3) we begin to add some shadow and lay down more pencil to the cube and on the flat plane to suggest a three-dimensional box. I want you to notice where the shadow begins on the backside of the cube. A lot of budding artist's make their first mistake here. They will begin their shadow off the top corner of the box instead of the bottom.  Illustration 3 In (Illustration 4) more diagonal lines to the cube and more pressure at the corners for stronger darksare added. In the shadow the darks are stronger closest to the cube and weaker as they fade away. Also notice that there was left a lighter tone in the center of the back panel of the cube to allow for reflected light. 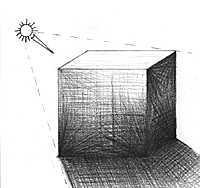 Illustration 4 Again this is a basic lesson and you should really practice this lesson often. Always carry a sketchbook or pad with you wherever you go and do quick light studies at different time of the day and of different objects. You will quickly master this technique. Now go ahead and try all the different shapes. Experiment with and vary them into rectangles, cones, pyramids and whatever other shapes you can imagine.   |
|